Mastering the Liquify Tool in Procreate: Creating Stunning Fluid Art Effects That Mimic Acrylic Paint Pours
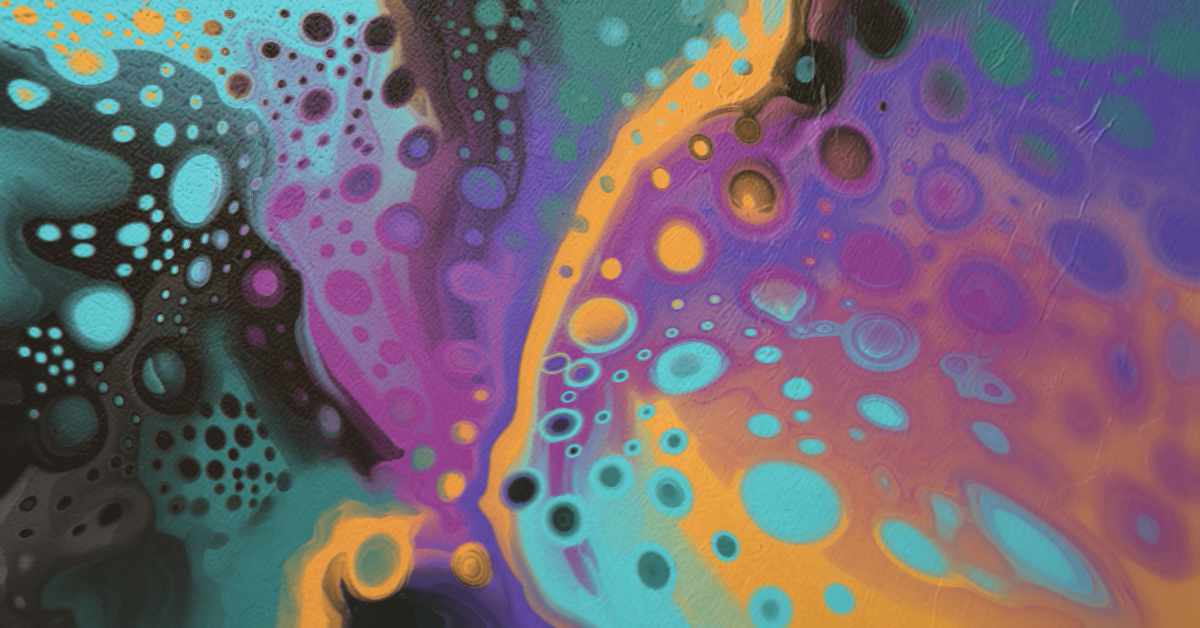
If you’re an artist who loves the mesmerizing flow of acrylic paint pours but prefers the convenience and flexibility of digital tools, Procreate’s Liquify tool might just be your new best friend. In this guide, we’ll explore how to use the Liquify tool in Procreate to create beautiful, flowing, fluid art that looks strikingly close to traditional acrylic paint pours. Let’s dive in!
Note: I’m using the Pocket Edition of Procreate on my phone. The layout is quite different than the iPad version butthe results should be the same for both
1. Understanding the Liquify Tool in Procreate
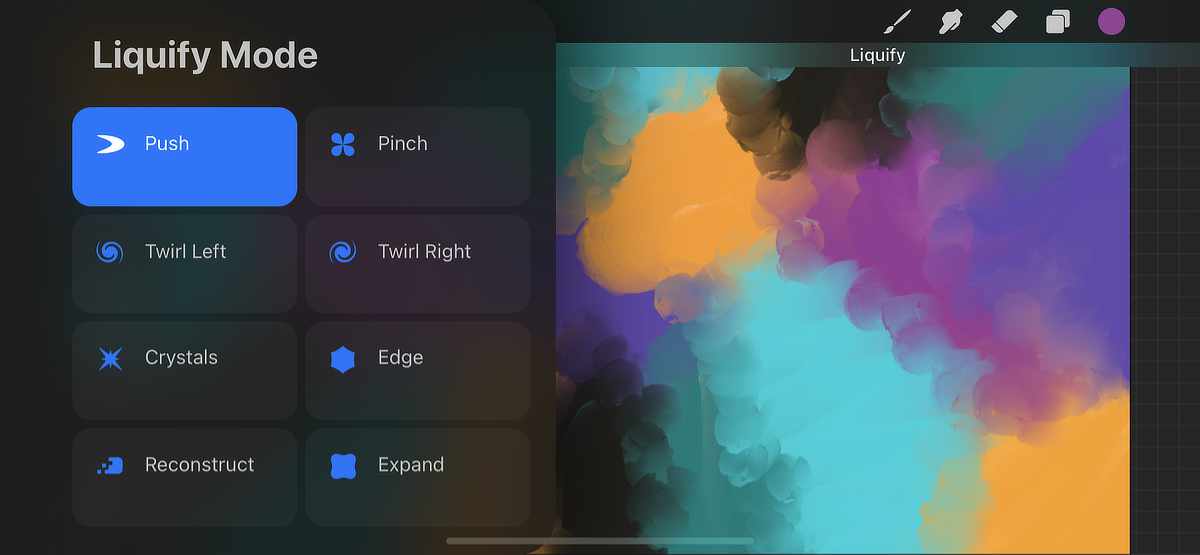
The Liquify tool in Procreate is a powerful feature that allows you to manipulate colours and shapes on your canvas in a way that mimics the fluid dynamics of liquid paints. Whether you’re creating abstract designs or trying to replicate the organic flow of a real paint pour, Liquify offers a range of options to help you achieve your desired effects.
When you open the Liquify tool (found under the Adjustments menu), you’ll see several sub-tools. The beauty of the Liquify tool lies in its versatility. Let’s explore the primary settings that help create fluid art effects:
Push: This is the go-to tool for creating the initial fluid motion. Use it to drag and blend colors, mimicking the natural flow of liquid paint. Adjust the size and pressure to control the strength of the push. For smooth, flowing lines, use a medium brush size with low pressure.
Twirl Right/Left: Perfect for creating those spiraling patterns found in acrylic pours. Use it sparingly to avoid overworking the canvas. Start with a small brush size and gradually increase until you achieve the desired effect.
Expand and Pinch: These tools are fantastic for adding depth to your fluid art. Use Expand to create bubble-like effects or mimic paint cells that naturally occur in acrylic pours. On the other hand, Pinch can be used to tighten the flow and create tension in certain areas, adding to the overall dynamism.
Crystals and Edge: These settings can add a unique texture to your fluid art. Crystals gives a fragmented effect that, when used lightly, can mimic the look of cracked or drying paint. Edge sharpens and defines parts of your flow, adding contrast between different colours.
Reconstruct: This tool allows you to smooth or “undo” parts of your fluid manipulations in specific areas, refining details without disrupting the whole piece. To create paint cells, you can use Reconstruct instead of Expand or pinch after using the Push tool. This is my favourite way to create cells in my fluid art.
Each of these options provides a different way to manipulate your artwork, allowing for endless possibilities in terms of creating dynamic, fluid effects.
2. Setting Up Your Canvas for Fluid Art
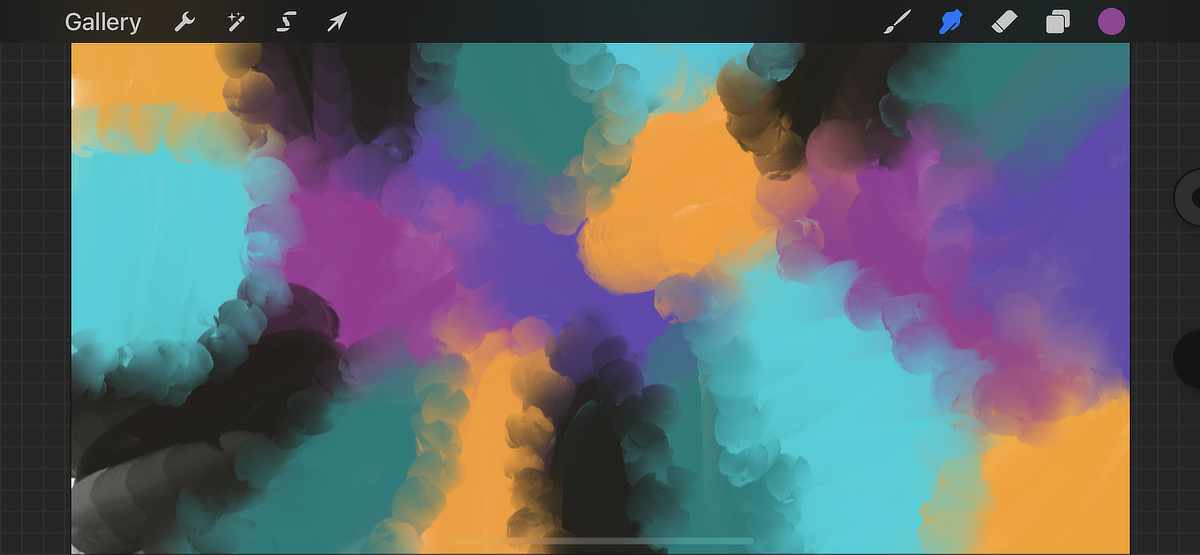
Before diving into the Liquify tool, start by setting up your canvas with a base layer of colours. Here’s a step-by-step approach to get you started:
Step 1: Choose Your Colours – Select a vibrant colour palette reminiscent of acrylic paint pours. Think bold blues, rich golds, creamy whites, and deep purples. For added depth, incorporate metallic and pearlescent colours. This is just a suggestion. Don’t be afraid to experiment with choices of your own. Complementary colours look great with this technique.
Step 2: Apply Your Base Colours – Using a soft brush, loosely apply your colours across the canvas. Don’t worry about precision here; let the colours overlap and blend naturally. This initial layer will serve as the foundation for the Liquify tool to work its magic.
Optional: Use the smudge tool to blend your paint. The idea is to add variety and variation between the colours without overly smoothing things out. A rough blend looks more natural. Sometimes I smudge out the details in images leaving only the colours, light and shadows. Using them as my base for fluid art creates some incredible results with tone values giving the effect more depth.
4. Techniques for Realistic Fluid Art Effects
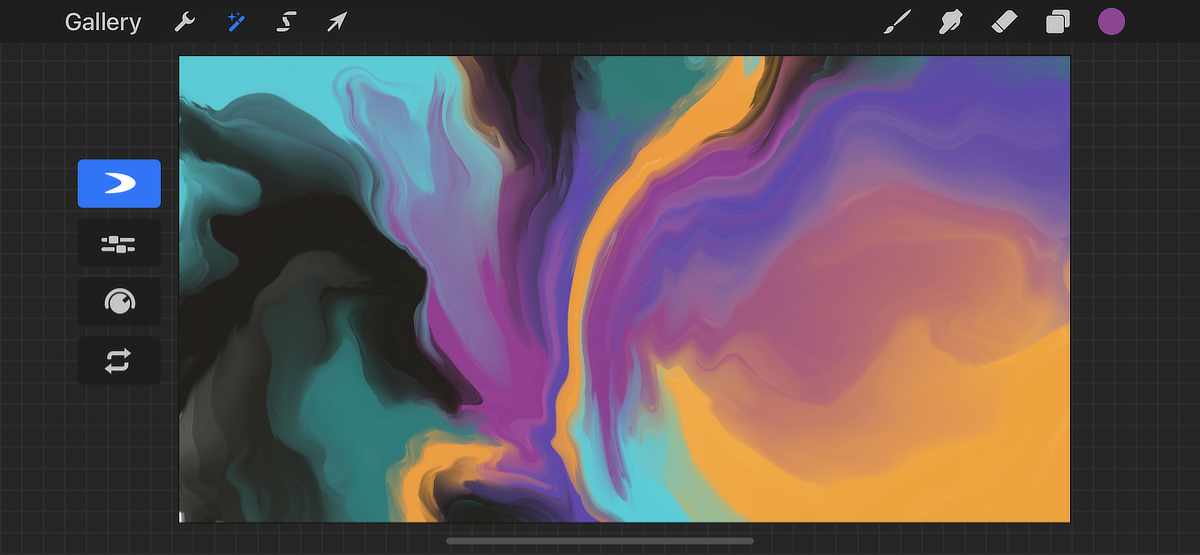
Here are some tried-and-true techniques for achieving realistic acrylic pour effects with Procreate’s Liquify tool:
Create Controlled Chaos: Start with broad, sweeping motions using the Push tool. Vary your strokes—some long and flowing, others short and abrupt—to create a sense of organic movement. Play with varying sizes of the push tool. Try not to overdo it. I’ve seen some Procreate artists use a lot of chaotic movement in their fluid art. Traditional fluid paint flows loosely and freely. Less is more.
Add Spirals with Twirl: Use the Twirl Right/Left tools at varying sizes and strengths. Start with small twirls, and gradually increase size to blend them into the larger composition. This creates an impression of swirling paint interacting on the canvas. Again, use this tool sparingly.
Emulate Paint Cells with Expand and Pinch: To mimic the “cells” that appear in acrylic pouring, tap around the canvas with the Expand tool at low strength. Follow with the Pinch tool in surrounding areas to tighten the fluid around these “cells,” creating a more natural, varied effect. Add different sizes to create variety. When you’re ready, experiment with the push tool here and there. It will stretch out your cells similar to traditional acrylic paint pours.
Layer for Depth: Don’t be afraid to use multiple layers! Create different liquified effects on separate layers and then blend them together using various layer modes like Multiply, Overlay, or Soft Light. This technique adds depth and complexity to your digital fluid art.
5. Fine-Tuning Your Art (Optional)
After you’ve used the Liquify tool to create the foundational fluid effects, consider adding finishing touches to enhance realism:
Highlight and Shadow Details: Use a soft airbrush to add subtle highlights and shadows around your fluid forms. This step will give your piece a sense of dimensionality, as though light is reflecting off real, wet paint.
Add Texture: Apply textured brushes to areas where you want a more tactile feel. Procreate has some great grain and texture brushes that can help simulate the look of canvas, paper, or even the paint itself.
Refine the Edges: If any areas appear too blurry or undefined, use the Edge option in the Liquify tool to sharpen them up, adding contrast and making the colours pop.
6. Export and Share Your Artwork
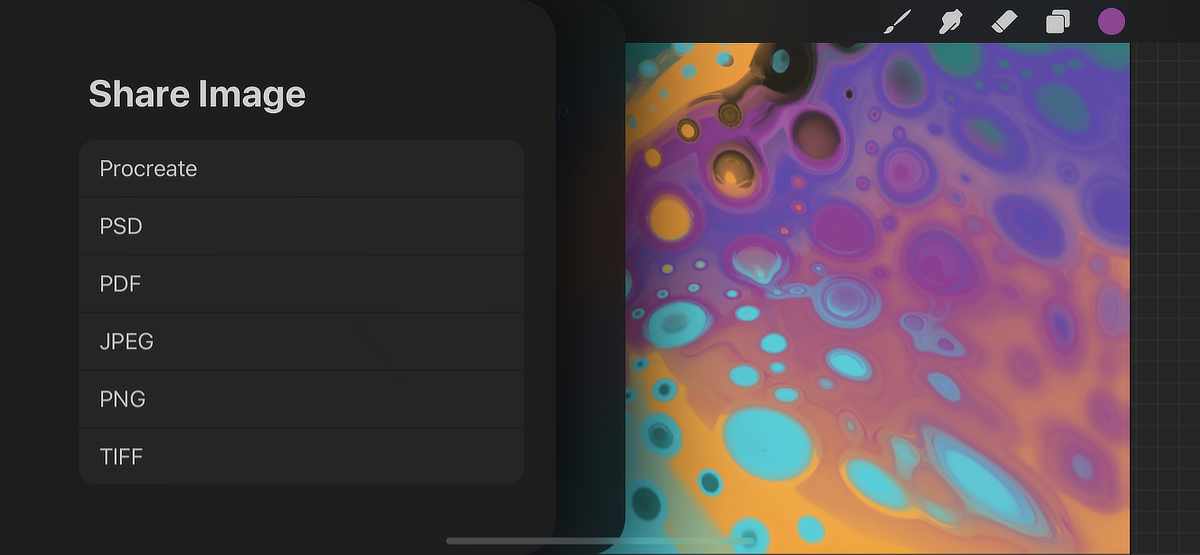
Once you’re satisfied with your fluid art creation, export it in high resolution to ensure all those beautiful details are preserved. Procreate allows you to export in various formats, including PNG and PSD, making it easy to share your work on social media, sell prints, or incorporate it into other design projects. I do recommend exporting to PSD and saving to your desired format on a computer for best results.
Creating Fluid Art Digitally
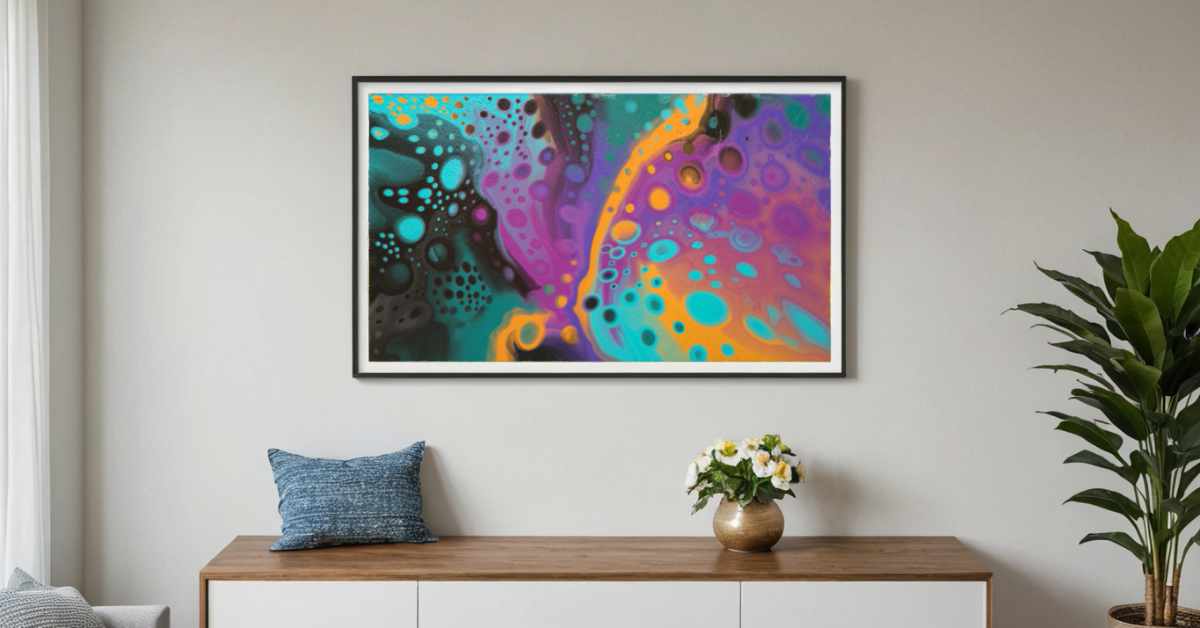
Creating fluid art that mimics the look of acrylic paint pours using Procreate’s Liquify tool is not only fun but also incredibly rewarding. With a little practice and a lot of experimentation, you can achieve stunning digital pieces that capture the essence of traditional paint pours. So, grab your iPad, open Procreate, and let your creativity flow!
Happy creating!





0 Comments